Setup Development Environment
Setting up your development environment
-
Download and install .NET 5 SDK Download .NET (Linux, macOS, and Windows) (microsoft.com)
This is the runtime, development kit (compiler, etc) that is used to build Avalonia applications.
-
Install Avalonia Templates
Run the command
dotnet new -i Avalonia.Templatesfrom the command prompt on your machine.The output will look similar to this.
$ dotnet new -i Avalonia.Templates
  Determining projects to restore...
  Restored /Users/danwalmsley/.templateengine/dotnetcli/v5.0.200/scratch/restore.csproj (in 706 ms).

Templates                                     Short Name            Language    Tags
.....

Avalonia Resource Dictionary                  avalonia.resource                 ui/xaml/avalonia/avaloniaui
Avalonia Styles                               avalonia.styles                   ui/xaml/avalonia/avaloniaui

Examples:
    dotnet new mvc --auth Individual
    dotnet new mstest
    dotnet new --help
    dotnet new avalonia.mvvm --help
-
Download and install Rider: The Cross-Platform .NET IDE from JetBrains
Rider will give you the very best development experience available for Avalonia. It is available for Windows, Linux and macOS
-
Install the Avalonia Plugin
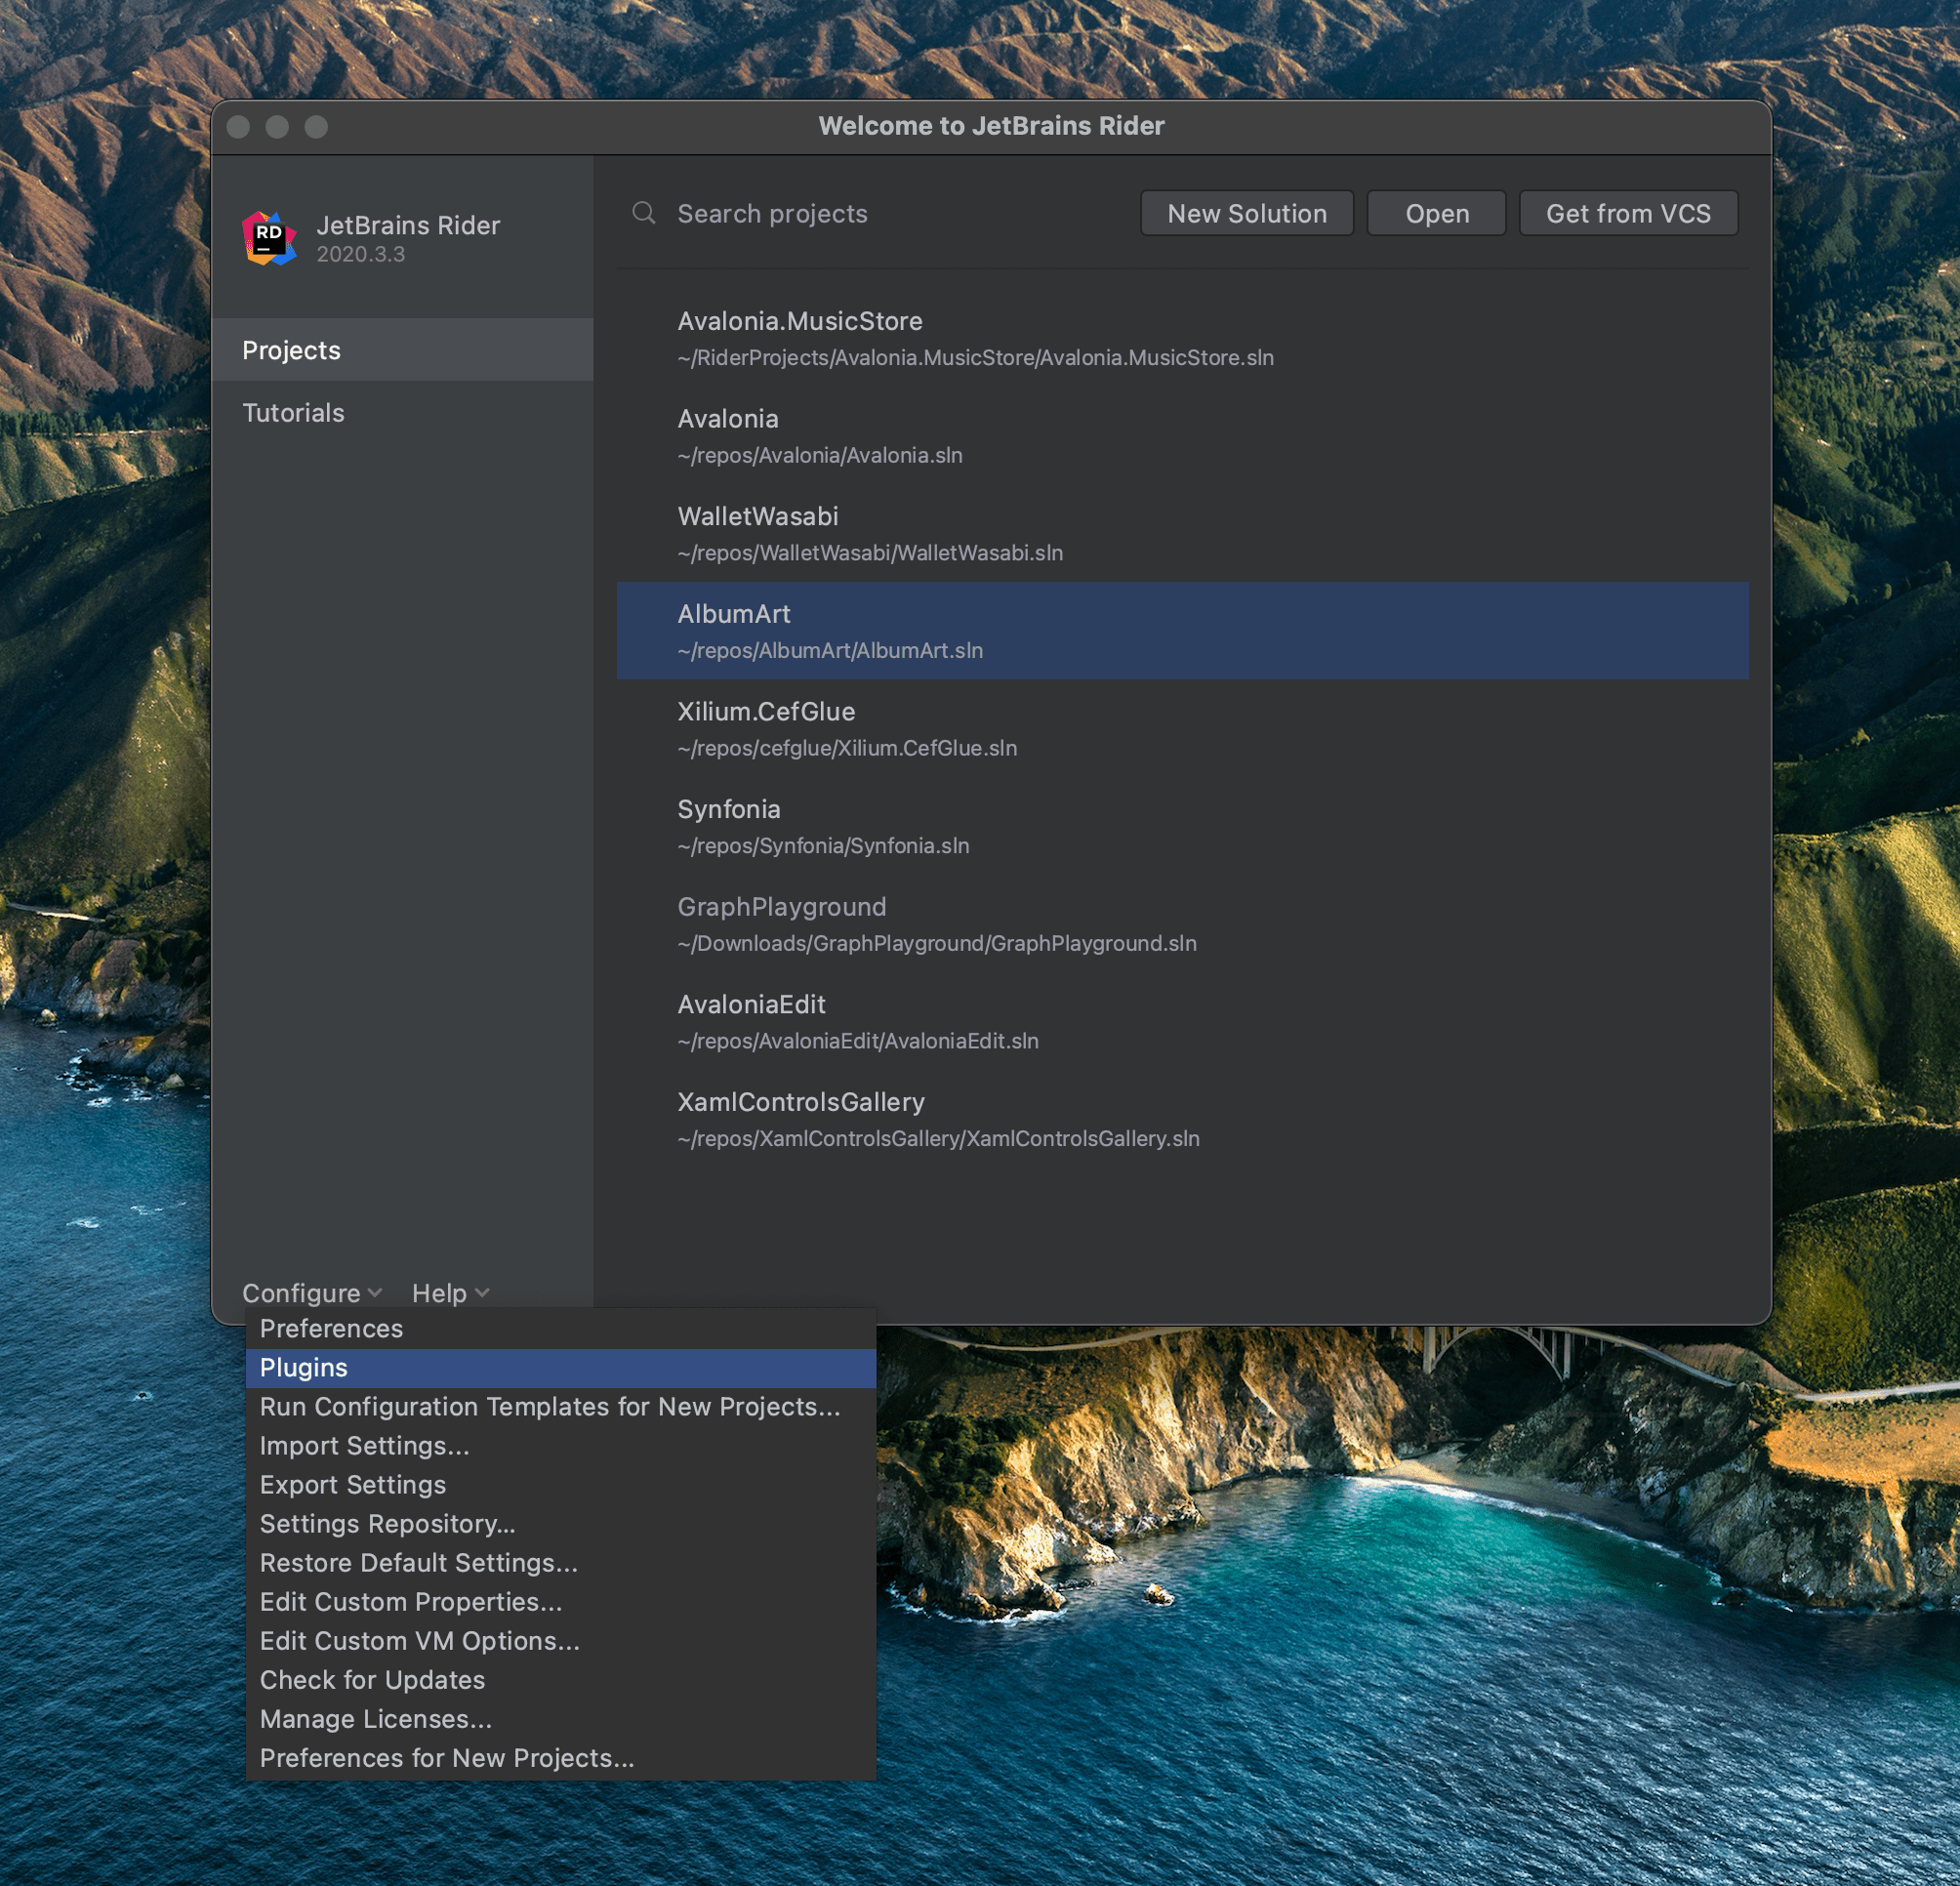
Once Rider loads you will see the Welcome Screen. Click the
Configuredropdown and selectPlugins.
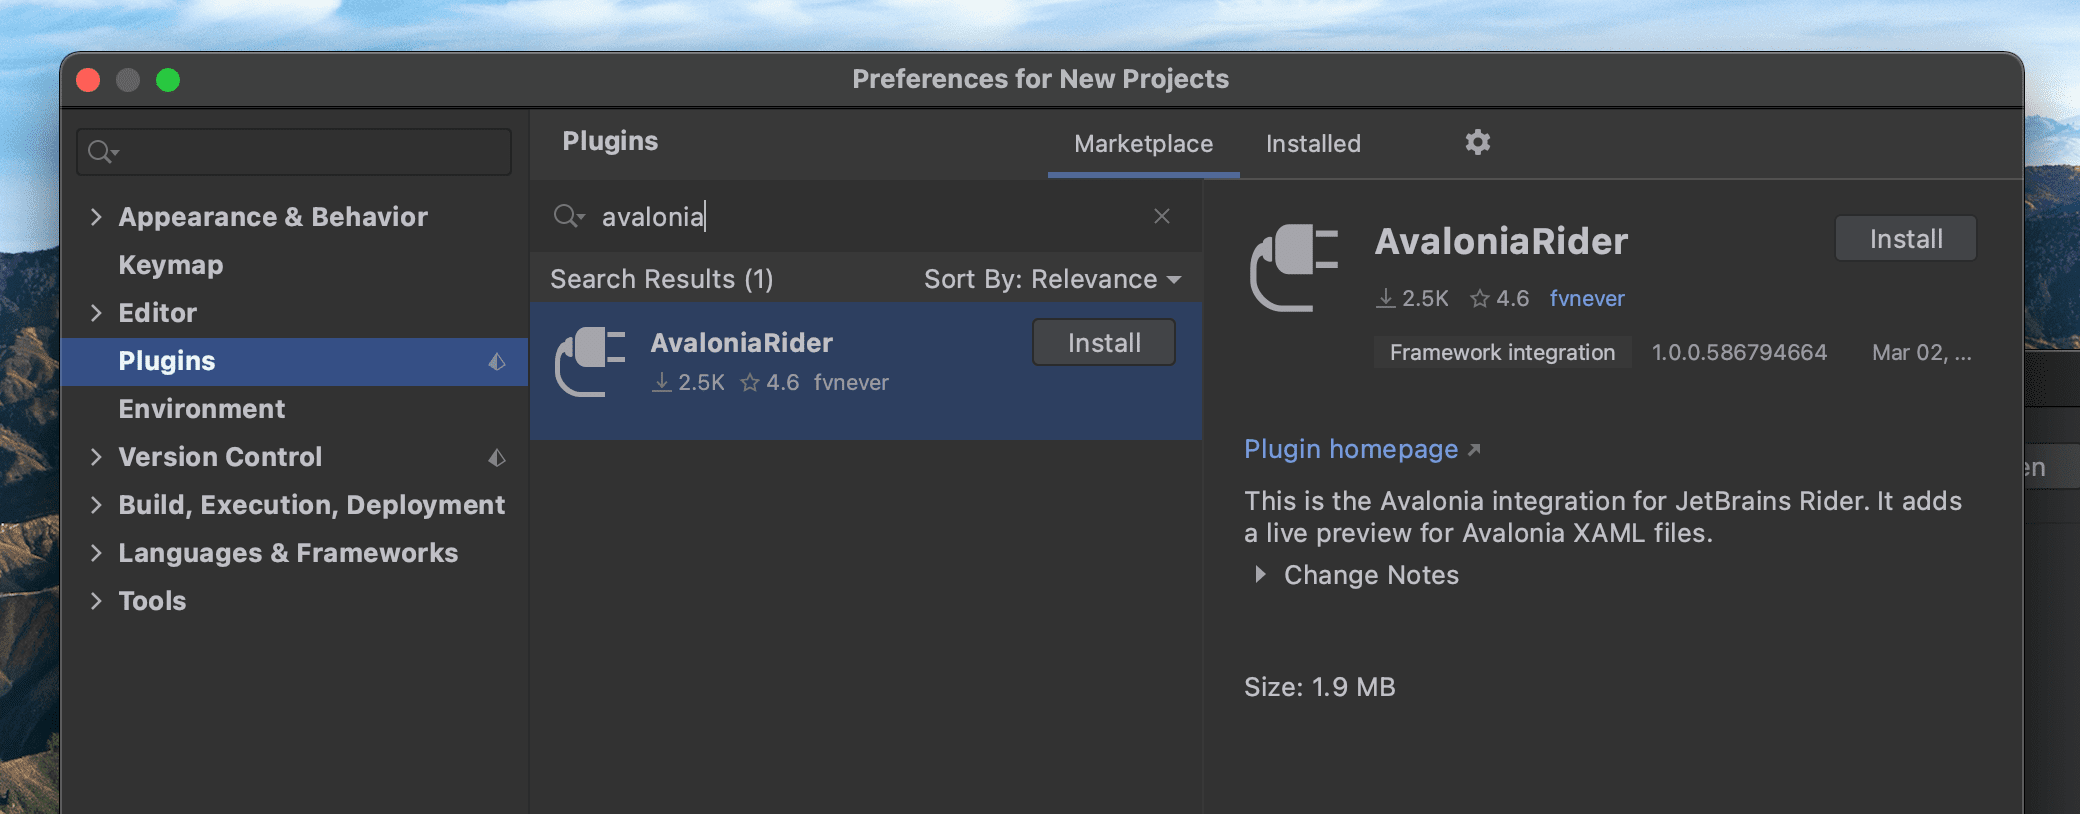
A new Preferences Screen will open up. Now click on the Marketplace tab and search for Avalonia. Select AvaloniaRider and click Install then once that's done, click the Restart IDE button that will appear.
Now Rider should be ready to develop Avalonia applications.