Add Items to the User's Collection
On this page you will implement a collection of albums that the user has selected using the search dialog and the Buy Album button, and display them in the main window.
Observable Collection
Your first step here is to add an observable collection to the main window view model. This will hold the albums that the user has selected using the search dialog.
Follow this procedure:
- Stop the app if it is running.
- Locate and open the MainWindowViewModel.cs file.
- Add an observable collection, as shown:
public ObservableCollection<AlbumViewModel> Albums { get; } = new();
Process the Dialog Result
Your next step is to alter the buy music reactive command so that it adds the dialog return object (an AlbumViewModel) to the observable collection. Follow this procedure:
- Alter the code that initializes the reactive command, as shown:
BuyMusicCommand = ReactiveCommand.CreateFromTask(async () =>
{
    var store = new MusicStoreViewModel();
    var result = await ShowDialog.Handle(store);
    if (result != null)
    {
        Albums.Add(result);
    }
});
Main Window View
Next you will add XAML to the main window view to display the items in the observable collection. Again you will use a data template, this time inside an ItemsControl. The items control is actually the base class for controls that display multiple items (like the list box), so some of this will already be familiar.
To add the items control and its data template, follow this procedure:
- Locate and open the MainWindow.axaml file.
- Add the following namespace declaration to the
<Window>element:
xmlns:views="clr-namespace:Avalonia.MusicStore.Views"
- Under the button element, add the XAML as shown:
<ItemsControl Margin="0 40 0 0" ItemsSource="{Binding Albums}">
  <ItemsControl.ItemsPanel>
    <ItemsPanelTemplate>
      <WrapPanel />
    </ItemsPanelTemplate>
  </ItemsControl.ItemsPanel>

  <ItemsControl.ItemTemplate>
    <DataTemplate>
      <views:AlbumView Margin="0 0 20 20" />
    </DataTemplate>
  </ItemsControl.ItemTemplate>
</ItemsControl>
- Click Debug to compile and run the project.
- Click the icon button.
- Type some search text.
- Click an album to select it.
- Click Buy Album.
- Repeat another time.
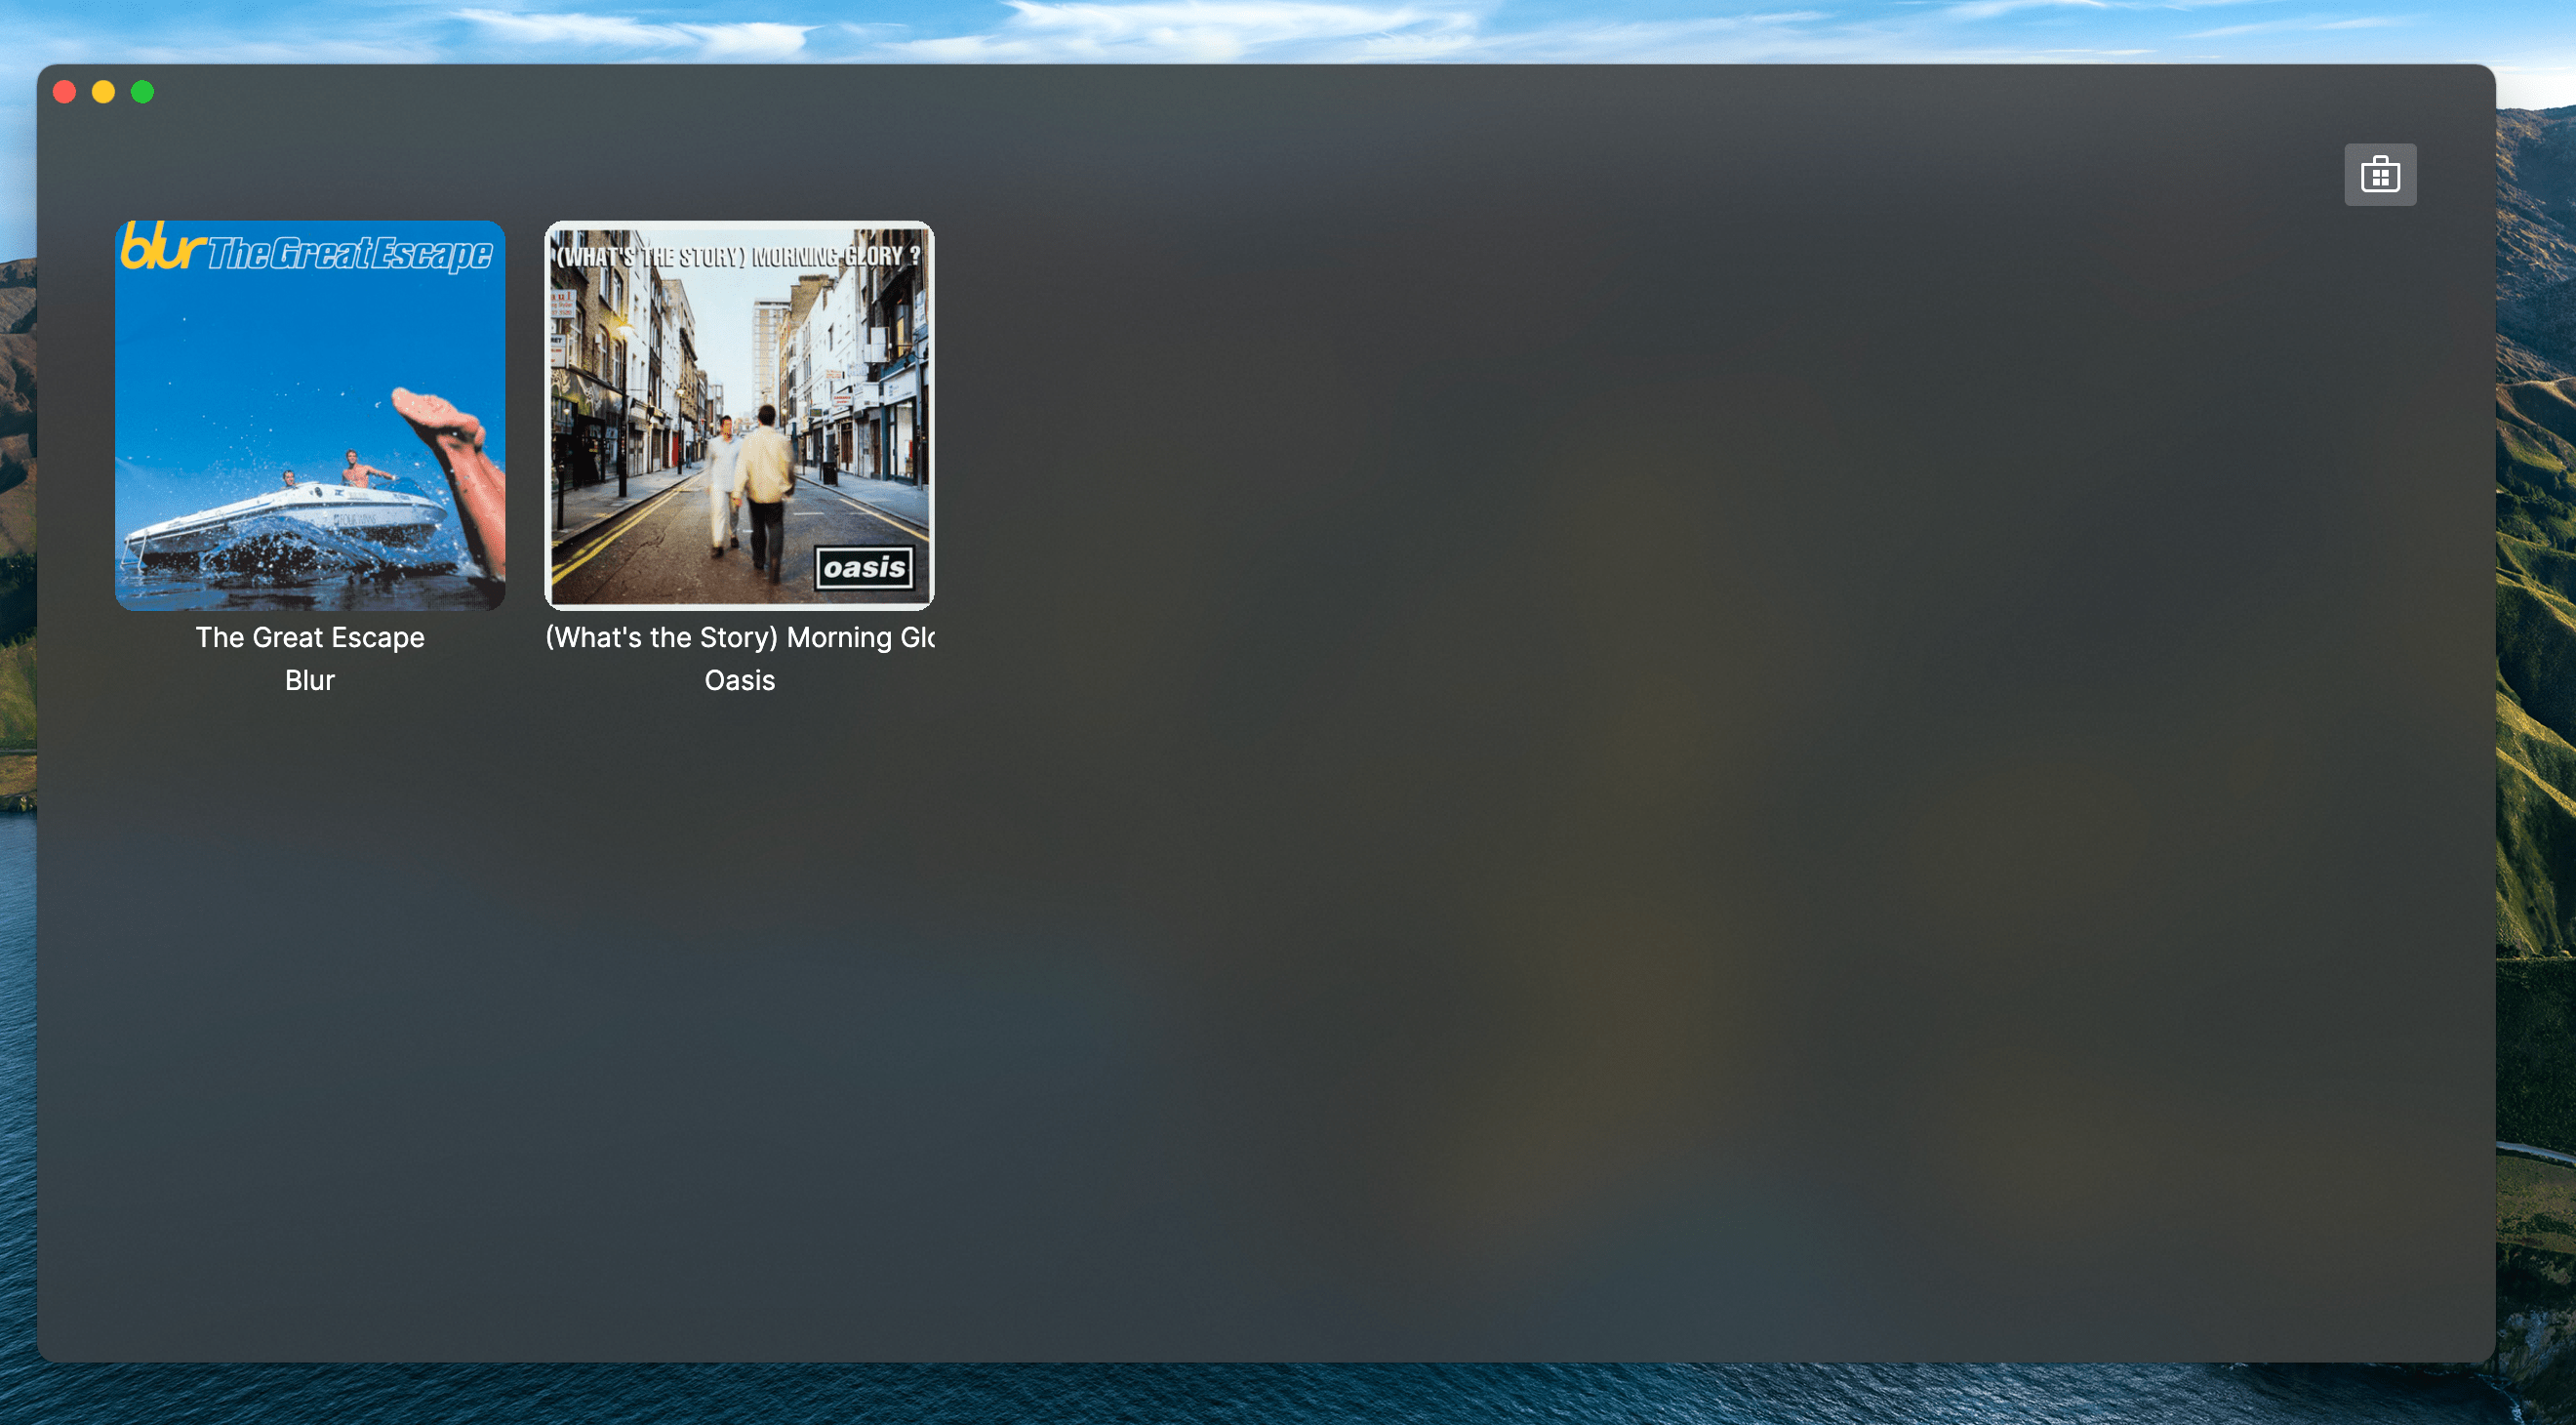
You will see the user's album collection building as you search and select. However, if you stop the app running and then start it again, the collection reverts to empty.
For the finishing touch, on the next page you will learn how to add some data persistence to the app.