Open a Dialog
On this page you will learn how to use ReactiveUI to manage another window in your app. The new window will eventually contain a search facility, and a button to add one of the album covers found to a list in the main window. This new window will be opened as a dialog - that is it will prevent activity in the main window while it is showing.
Add a New Dialog Window
There is nothing special about a window view file that makes it into a dialog; that is up to the way in which the window is controlled by the app; and you will use ReactiveUI to manage this. So the first step is to create a new window for the app.
To create a new window, follow this procedure:
- Stop the app if it is still running.
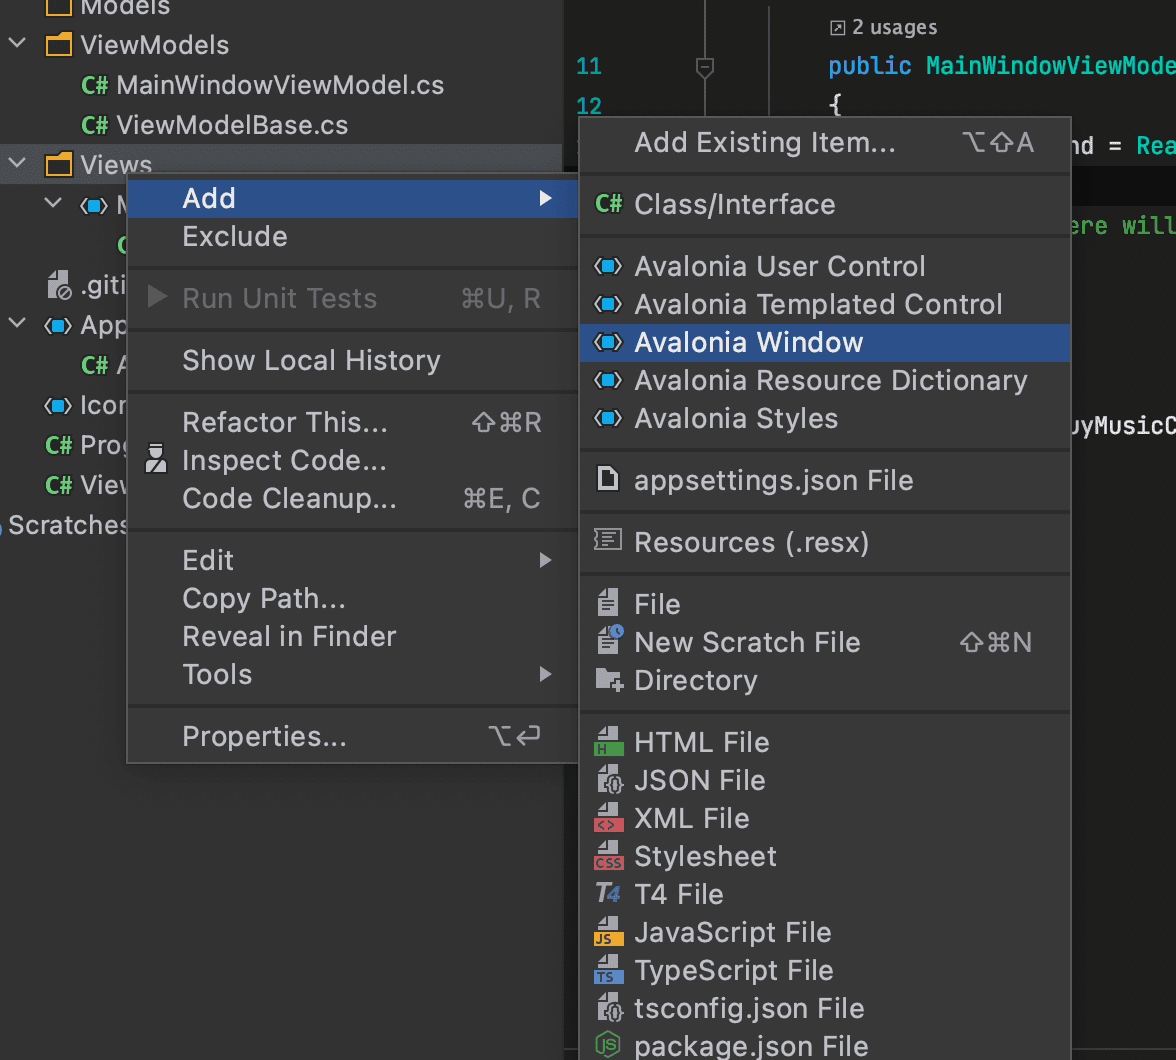
- In the solution explorer, right-click the /Views folder and then click Add.
- Click Avalonia Window.
- When prompted for the name, type 'MusicStoreWindow'
- Press enter.
Dialog Window Styling
To style the new dialog window so that it matches the main window, follow this procedure:
- Locate and open the MusicStoreWindow.axaml file.
- Change this code as follows to add the acrylic blur background, extended into the title bar (as before) as shown:
<Window xmlns="https://github.com/avaloniaui"
        xmlns:x="http://schemas.microsoft.com/winfx/2006/xaml"
        xmlns:d="http://schemas.microsoft.com/expression/blend/2008"
        xmlns:mc="http://schemas.openxmlformats.org/markup-compatibility/2006"
        mc:Ignorable="d" d:DesignWidth="800" d:DesignHeight="450"
        x:Class="Avalonia.MusicStore.Views.MusicStoreWindow"
        Title="MusicStoreWindow"
        TransparencyLevelHint="AcrylicBlur"
        ExtendClientAreaToDecorationsHint="True">
    <Panel>
        <ExperimentalAcrylicBorder IsHitTestVisible="False">
            <ExperimentalAcrylicBorder.Material>
                <ExperimentalAcrylicMaterial
                    BackgroundSource="Digger"
                    TintColor="Black"
                    TintOpacity="1"
                    MaterialOpacity="0.65" />
            </ExperimentalAcrylicBorder.Material>
        </ExperimentalAcrylicBorder>

        <Panel Margin="40">

        </Panel>
    </Panel>
</Window>
Dialog Input and Output
The application logic for the dialog will be controlled by its own view model. This will be created and linked to the dialog window view whenever the dialog is to be shown.
Similarly, the result of the users interaction with the dialog will eventually have to be passed back to the application logic for the main window for processing.
At this stage you will create two empty view model classes to act as placeholders for the dialog view model, and the dialog return (selected album) object. To create these view models, follow this procedure:
- In the solution explorer, right-click the /ViewModels folder and then click Add.
- Click Class.
- Name the class 'MusicStoreViewModel' and click Add.
- Right-click again the /ViewModels folder and then click Add a second time.
- Click Class.
- Name the class 'AlbumViewModel' and click Add.
Show Dialog
Now you have a new window for the dialog, and some view model classes for its interaction; there are two steps to create the dialog interaction:
- The main window view model starts the interaction.
- The main window view knows how to start the interaction.
Firstly, to alter the main window view model code so it starts the interaction to show the dialog, follow this procedure:
- Locate and open the MainWindowViewModel.cs file.
- Add a declaration for the interaction with the new dialog window, as shown:
public Interaction<MusicStoreViewModel, AlbumViewModel?> ShowDialog { get; }
- Alter the constructor code to create the reactive command from a asynchronous task, as shown:
using System;
using System.Collections.Generic;
using System.Reactive.Linq;
using System.Text;
using System.Windows.Input;
using ReactiveUI;

namespace Avalonia.MusicStore.ViewModels
{
    public class MainWindowViewModel : ViewModelBase
    {
        public MainWindowViewModel()
        {
            ShowDialog = new Interaction<MusicStoreViewModel, AlbumViewModel?>();

            BuyMusicCommand = ReactiveCommand.CreateFromTask(async () =>
            {
                var store = new MusicStoreViewModel();

                var result = await ShowDialog.Handle(store);
            });
        }

        public ICommand BuyMusicCommand { get; }

        public Interaction<MusicStoreViewModel, AlbumViewModel?> ShowDialog { get; }
    }
}
At this point, the code for the interaction is still incomplete. If you attempt to run the app now and click the icon button, you will get an exception of class ReactiveUI.UnhandledInteractionException.
Your next step is to make sure that the main window view knows how to start the interaction. This is implemented in the code-behind file for the main window view, and uses some features of the ReactiveUI framework. Follow this procedure:
- Locate and open the code-behind MainWindow.axaml.cs file. (You may need to expand the MainWindow.axaml file to find it.)
- Alter the class wo that it inherits from
ReactiveWindow<MainWindowViewModel>. - Add the
DoShowDialogAsyncmethod as follows:
private async Task DoShowDialogAsync(InteractionContext<MusicStoreViewModel,
                                        AlbumViewModel?> interaction)
{
     var dialog = new MusicStoreWindow();
     dialog.DataContext = interaction.Input;

     var result = await dialog.ShowDialog<AlbumViewModel?>(this);
     interaction.SetOutput(result);
}
- Add the following code to the end of the constructor:
this.WhenActivated(action =>
         action(ViewModel!.ShowDialog.RegisterHandler(DoShowDialogAsync)));
This means that whenever the main window view is activated, the DoShowDialogAsync handler is registered. The action is disposable, so that ReactiveUI can clean up the registration when the main window view is not on the screen.
Your whole file should now look like this:
using Avalonia.ReactiveUI;
using AvaloniaApplication11.ViewModels;
using ReactiveUI;
using System.Threading.Tasks;

namespace AvaloniaApplication11.Views
{
    public partial class MainWindow : ReactiveWindow<MainWindowViewModel>
    {
        public MainWindow()
        {
            InitializeComponent();
            this.WhenActivated(action =>
                action(ViewModel!.ShowDialog.RegisterHandler(DoShowDialogAsync)));
        }

        private async Task DoShowDialogAsync(InteractionContext<MusicStoreViewModel,
                                                AlbumViewModel?> interaction)
        {
            var dialog = new MusicStoreWindow();
            dialog.DataContext = interaction.Input;

            var result = await dialog.ShowDialog<AlbumViewModel?>(this);
            interaction.SetOutput(result);
        }
    }
}
- Click Debug to compile and run the project.
- Click the icon button.
It all works - but the dialog window opens at the same size as the main window, and offset from it.
Dialog Position and Size
In the last step here, you will make the dialog smaller that the main window, and open centered on it. You will also make the main window open in the center of the user's screen.
Follow this procedure:
- Stop the app if it is still running.
- Locate and open the MainWindow.axaml file.
- Add an attribute to the
<Window>element to set the start-up position:
<Window ...
    WindowStartupLocation="CenterScreen">
- Locate and open the MusicStoreWindow.axaml file.
- Add attributes for the width and height of the dialog, set at 1000 and 550 respectively.
- Add the start-up position attribute set to
CenterOwner, as shown:
<Window ...
    Width="1000" Height="550"
    WindowStartupLocation="CenterOwner">
- Click Debug to compile and run the project.
- Click the icon button.
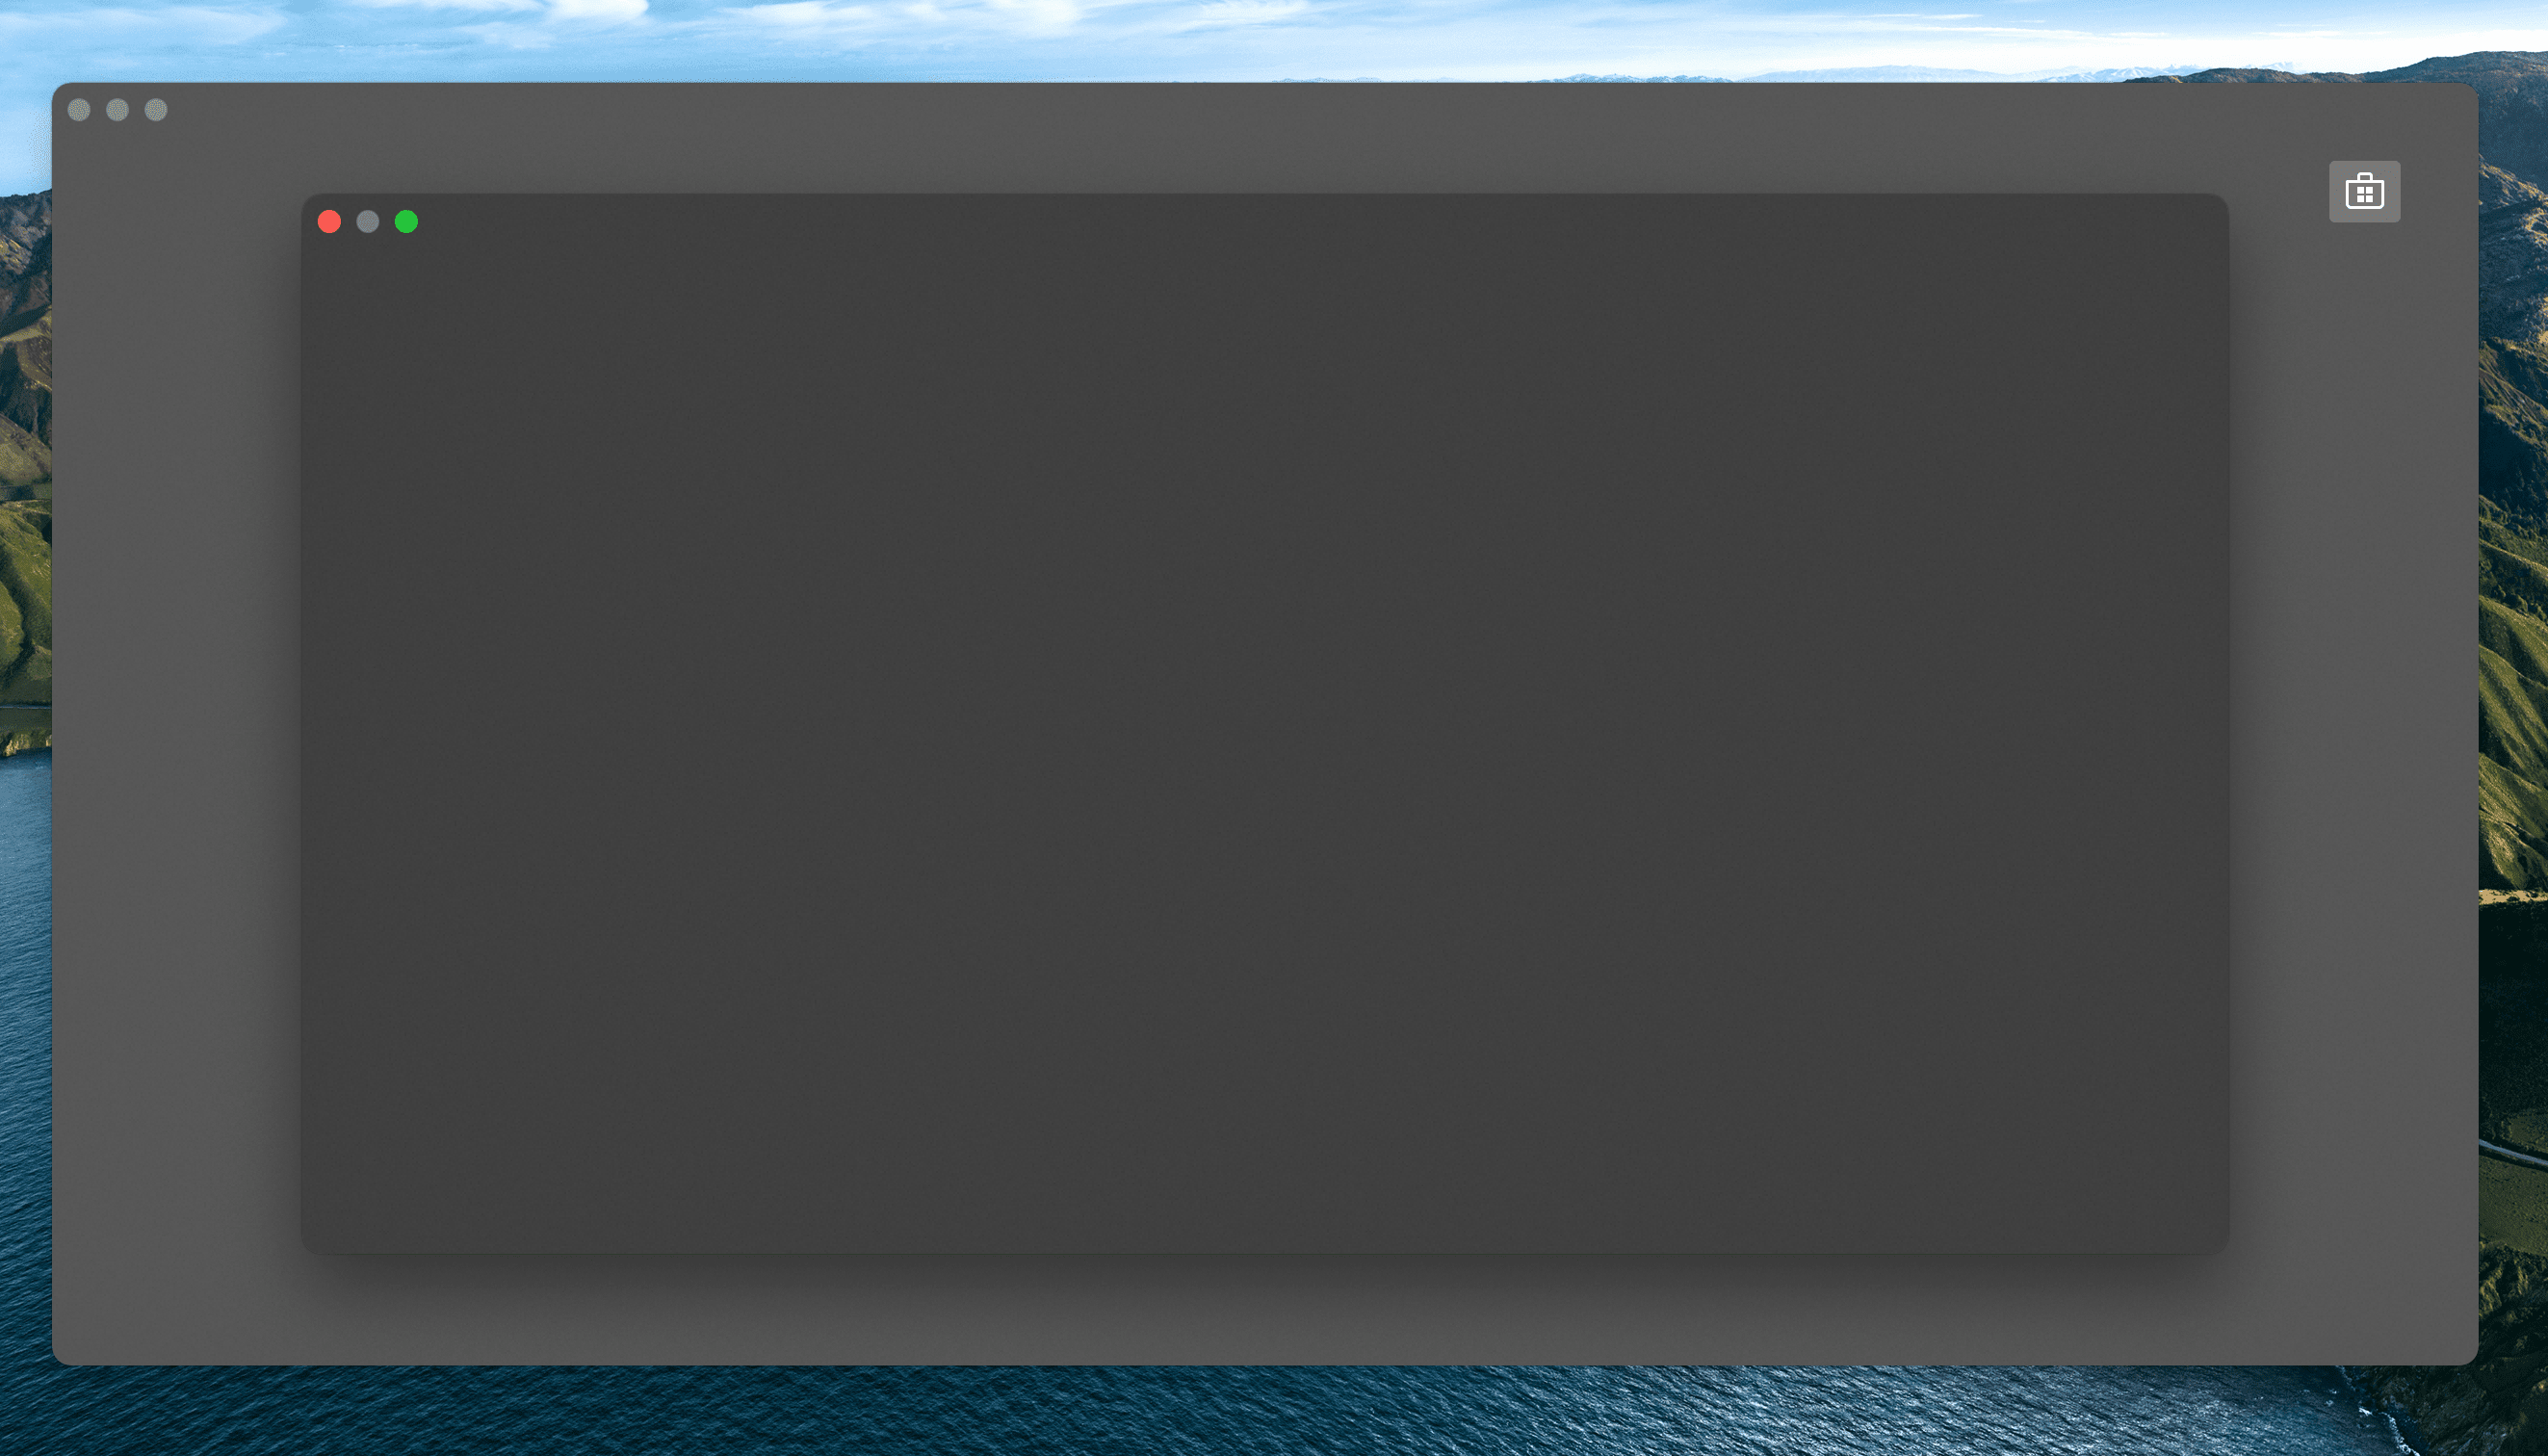
The dialog window is now opened centered inside the main window.
On the next page, you will learn how to add some content to the dialog window to represent a search for albums, and present the results.