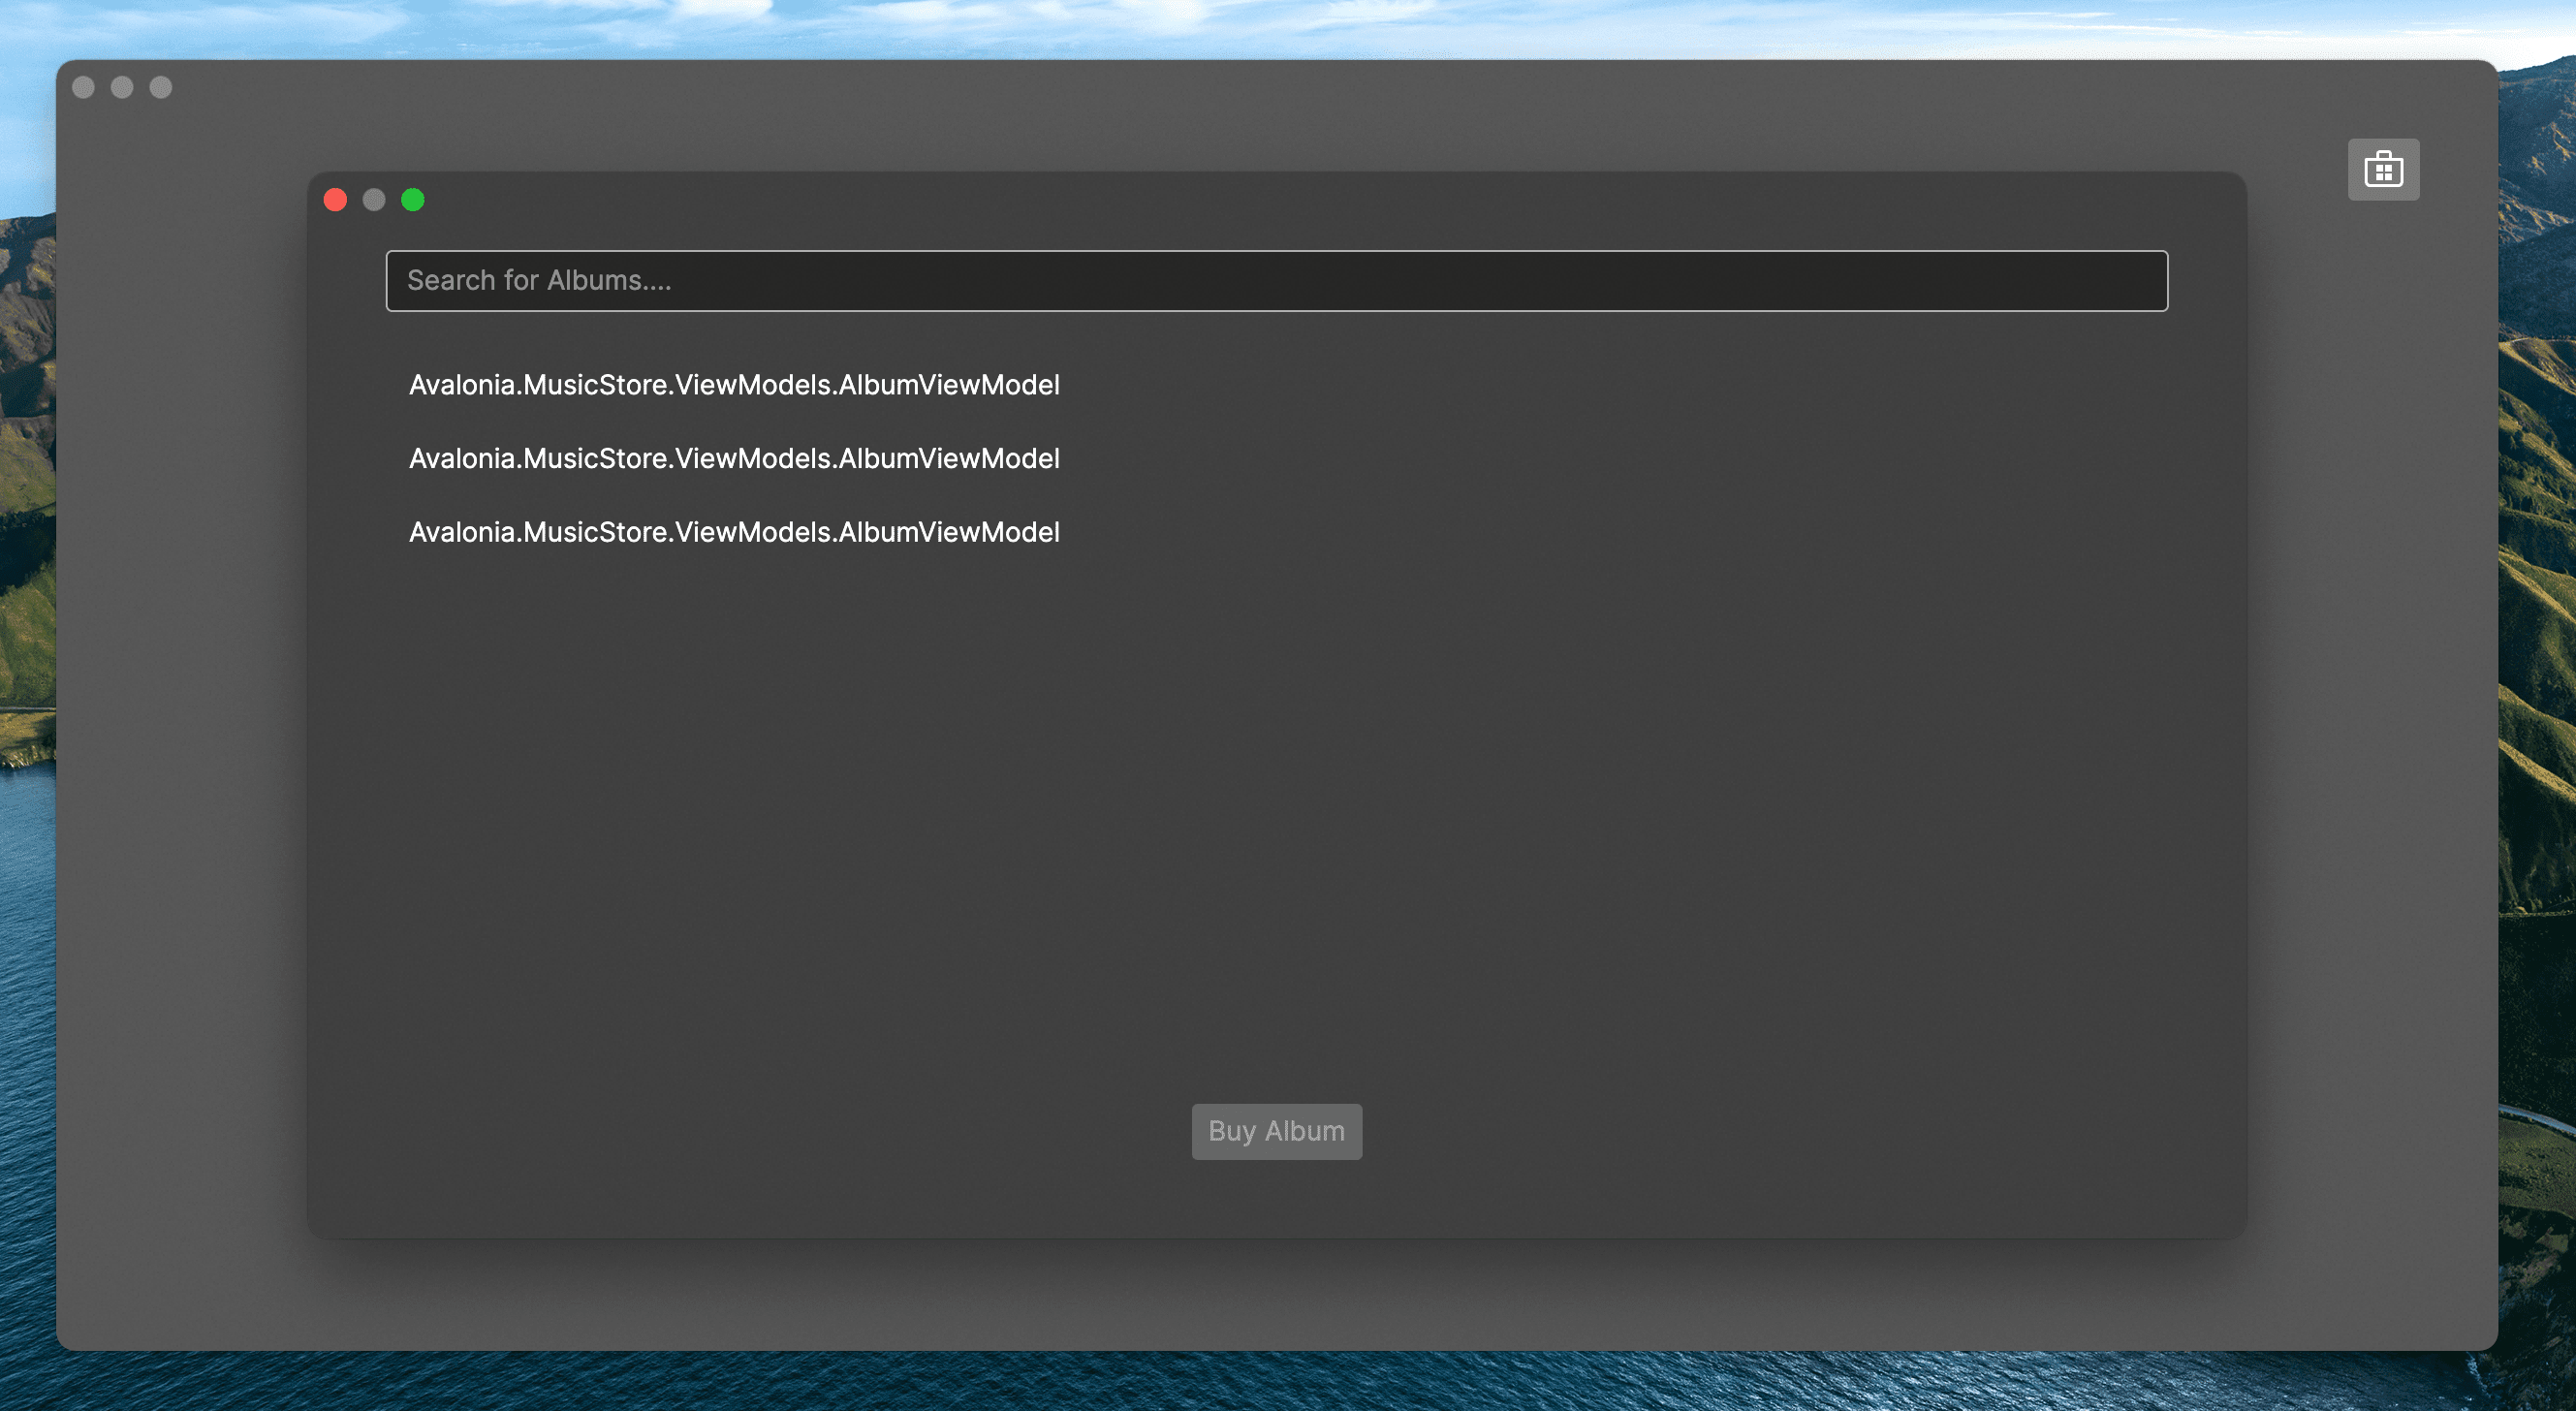
Mock Search
On this page you will create the view model for the album search feature, and then bind it to the controls on the new user control. At this stage you will use a mock of the search itself, so that you can concentrate on the view model.
Reactive View Model
The ReactiveUI framework provides Avalonia UI with support for its data binding system. You add this support by deriving your view model from the ReactiveObject class, via the ViewModelBase class that was added to your project at the start, by the solution template.
Follow this procedure to derive from the ReactiveObject class:
- Locate and open the MusicStoreViewModel.cs file.
- Add the code to derive the class from
ViewModelBase.
namespace Avalonia.MusicStore.ViewModels
{
    public class MusicStoreViewModel : ViewModelBase
    {
    }
}
This adds the important extension method RaiseAndSetIfChanged to your view model, and will allow you to give the properties there the ability to notify changes to the view.
To review the concepts behind the MVVM pattern and notification, see here.
At this stage, you will create two properties for the search application logic:
- A text string that is the search criteria,
- A Boolean that indicates whether the search is busy.
- Add the following code to implement the above properties:
using ReactiveUI;

namespace AvaloniaApplication11.ViewModels
{
    public class MusicStoreViewModel : ViewModelBase
    {
        private string? _searchText;
        private bool _isBusy;

        public string? SearchText
        {
            get => _searchText;
            set => this.RaiseAndSetIfChanged(ref _searchText, value);
        }

        public bool IsBusy
        {
            get => _isBusy;
            set => this.RaiseAndSetIfChanged(ref _isBusy, value);
        }

    }
}
You can see that the properties have a normal public getter which returns the private value field; but the setter calls the RaiseAndSetIfChanged method - in order to implement the notification.
Data Binding
Next you will add a data binding to link the view to the view model. The text box will be bound to the search text, and whether the progress bar is visible to the user will be bound to the Boolean.
Follow this procedure to add data binding to the view:
- Locate and open the MusicStoreView.axaml file.
- Add the binding expressions shown:
<UserControl ...>
    <!-- ... -->
    <DockPanel>
      <StackPanel DockPanel.Dock="Top">
        <TextBox Text="{Binding SearchText}" Watermark="Search for Albums...." />
        <ProgressBar IsIndeterminate="True" IsVisible="{Binding IsBusy}" />
      </StackPanel>
      <Button Content="Buy Album"
              DockPanel.Dock="Bottom"
              HorizontalAlignment="Center" />
      <ListBox/>
    </DockPanel>
    <!-- ... -->
</UserControl>
Album Search and Selection
Your next step is to create the music store view model properties needed to process albums. These are:
- a collection of album view models to represent the albums that the search might find,
- and a property to hold an album if the user selects one.
Here you will use the ObservableCollection - this is a collection is capable of notification, and it is provided by the .NET framework.
Follow this procedure to add the above properties:
- Locate and open the MusicStoreViewModel.cs file.
- Add the following code to the class:
private AlbumViewModel? _selectedAlbum;

public ObservableCollection<AlbumViewModel> SearchResults { get; } = new();

public AlbumViewModel? SelectedAlbum
{
    get => _selectedAlbum;
    set => this.RaiseAndSetIfChanged(ref _selectedAlbum, value);
}
Next to bind these properties to the list box in the view, follow this procedure:
- Locate and open the MusicStoreView.axaml file.
- Add the binding expressions shown to the
<ListBox>element:
<ListBox ItemsSource="{Binding SearchResults}" SelectedItem="{Binding SelectedAlbum}" />
Mock Data
Now, to test the app at this stage, you will add some mock data directly to the view model.
Follow this procedure:
- Locate and open the MusicStoreViewModel.cs file again.
- Add a constructor to the class, as shown:
public MusicStoreViewModel()
{
    SearchResults.Add(new AlbumViewModel());
    SearchResults.Add(new AlbumViewModel());
    SearchResults.Add(new AlbumViewModel());
}
- Click Debug to compile and run the project.

This shows that the data binding from the list to the album collection in the view model is working, but the view is not graphical yet. On the next page you will develop the app further by replacing the text with graphical album tiles.